Using Energy Dispersive Spectroscopy (EDS) for measuring and mapping elements within biological samples and generating multi-colour images of subcellular features has always been something I wanted to do in my previous roles as a facility staff member. As an electron microscopist working in life science, it is easy to appreciate the added value of compositional information when characterising cell and tissue ultrastructure.
When I was first introduced to EDS, I had a lot of questions about using biological samples. I am sharing these questions (and answers) for other microscopists working in life sciences that are also considering using EDS.
Can I use EDS on my samples?
In short, yes. However, I need to dive into more detailed questions in order to understand what an EDS workflow entails.
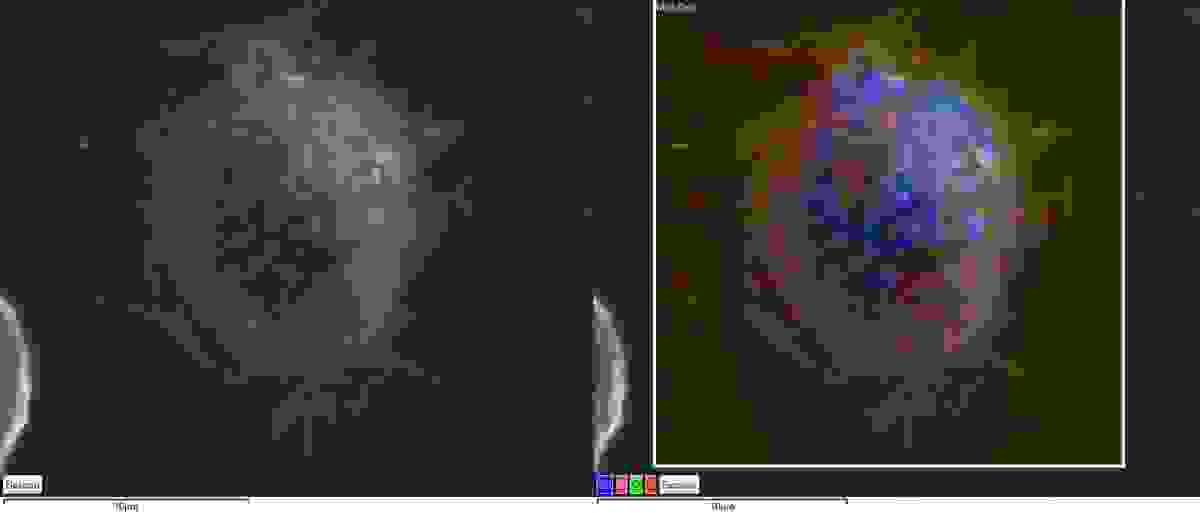
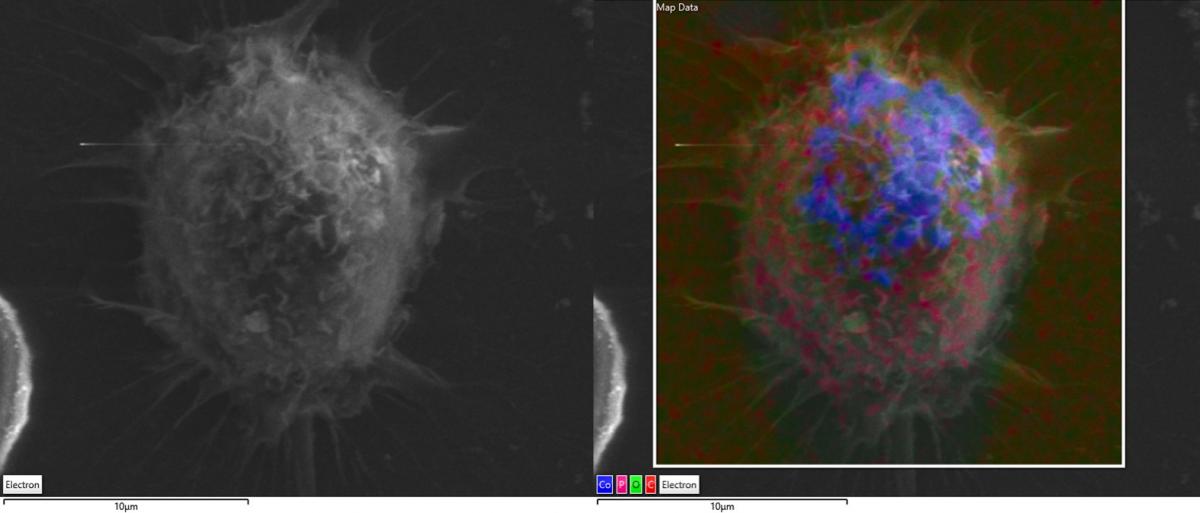
Figure 1 - A secondary electron image (left) and EDS map (right) of a macrophage loaded with Cobalt nanoparticles. The EDS map allows us to easily identify cells that exhibit an uptake of the nanoparticles.
Do I need to prepare my biological samples in a specific manner?
Having experience of performing electron microscopy (EM) with biological samples, I was aware that the specimen preparation must be tailored to answer specific questions and can vary from workflow to workflow.
It is convenient that the properties needed for EDS share a lot in common with the properties needed for general EM analysis. You must prepare your samples to be conductive and stable under the electron beam without extracting your elements of interest during the preparation method. Having a flat surface or minimal topography is ideal for detecting the signal for specimen-beam interactions, minimising X-rays being absorbed by the sample.
You can find more information on specimen preparation in this previous blog post.
How do I choose my imaging conditions?
Nowadays, EDS detectors are available which are sensitive to light elements, run at low kV, detect low count rates of X-rays, and perform accurate element mapping.
These technological advances have opened the door for biological EDS. I don’t have to worry about samples that are easily damaged with high beam current and require low kV for high-resolution imaging in the SEM.
It is important to highlight that you must consider your application needs when choosing your EDS detector. For biological samples, I recommend looking at the previous blog post on the Ultim Extreme.
How difficult is EDS for new users?
I found that learning and starting to use EDS on biological samples was very easy. The AZtecLive software platform was developed with usability in mind. The elegant simplicity of the interface and Live Chemical Imaging capability (acquiring a live electron image, live X-ray maps and live spectrum) is very intuitive and allows for easy navigation of your samples.
With biological samples, I usually want to collect representative data across a wide field of view. For the automated collection of electron and EDS data, the large area analysis tool is available in AZtec. When doing Large Area Mapping, you can automatically acquire and stitch together thousands of tiled fields of view.
Live Chemical Imaging and Large Area Mapping features allow me to easily collect data, whether I need to characterise complex tissues or looking for rare events.
How fast can I collect all the data that I need?
Data collection is quick and easy when I find my areas of interest with Live Chemical Imaging or Large Area Mapping. Since I can have a low X-ray count from my biological samples, I want to make sure that my element mapping is as accurate as possible and corrected for background.
TruMap
is another feature within AZtec that requires a single click to run a data processing algorithm in real time. This means that while I am acquiring data, I can already start interpreting it without any post processing for accurate mapping.
When you can complement your ultrastructure with chemical composition, localisation, and quantification, you open more ways to think about bioimaging and characterise your samples. Once your samples are ready to go in the electron microscope, you can do EDS quickly and easily improve your imaging workflows.
For more information on biological EDS applications and how easily you can start doing EDS, register for my webinar and watch it live or on demand.